
Appearance
Installation
Get RelyPay from an empty install to a working checkout: upload, activate, license, connect a provider, enable sub-gateways, set routing.
Prerequisites: a server that meets the Requirements, a Full Administrator account, and your RelyPay license key.
1. Upload the files
Copy modules/addons/relypay/ into your WHMCS install, alongside your other addon modules.
2. Activate the addon
Setup → Addon Modules → RelyPay → Activate.
 Setup → Addon Modules
Activation creates RelyPay's tables, generates the 10 sub-gateway checkout options, and installs the callback handlers. On success:
RelyPay activated successfully. 10 sub-gateways created. Configure providers in Addons → RelyPay.
WHMCS will ask which administrator roles may access RelyPay. Grant Full Administrator (and any other role that needs it) — otherwise the addon pages stay hidden. You can change this later under Configuration → System Settings → Administrator Roles.
3. Enter your license key
Addons → RelyPay → Global Settings → License Information → paste your key → activate. See Licensing for license types and lapse behaviour.
On first opening RelyPay after activation, only the License Information form is shown — the Dashboard, Providers, Routing and other tabs appear once a valid key is Active.
4. Connect a provider
Addons → RelyPay → Providers → pick a provider → enter its credentials → Test Connection → enable. Add more providers any time. See Configuration for each provider's fields and webhook URL.
5. Enable sub-gateways
Turn on the checkout options customers see under Setup → Payment Gateways — they are standard WHMCS gateways.
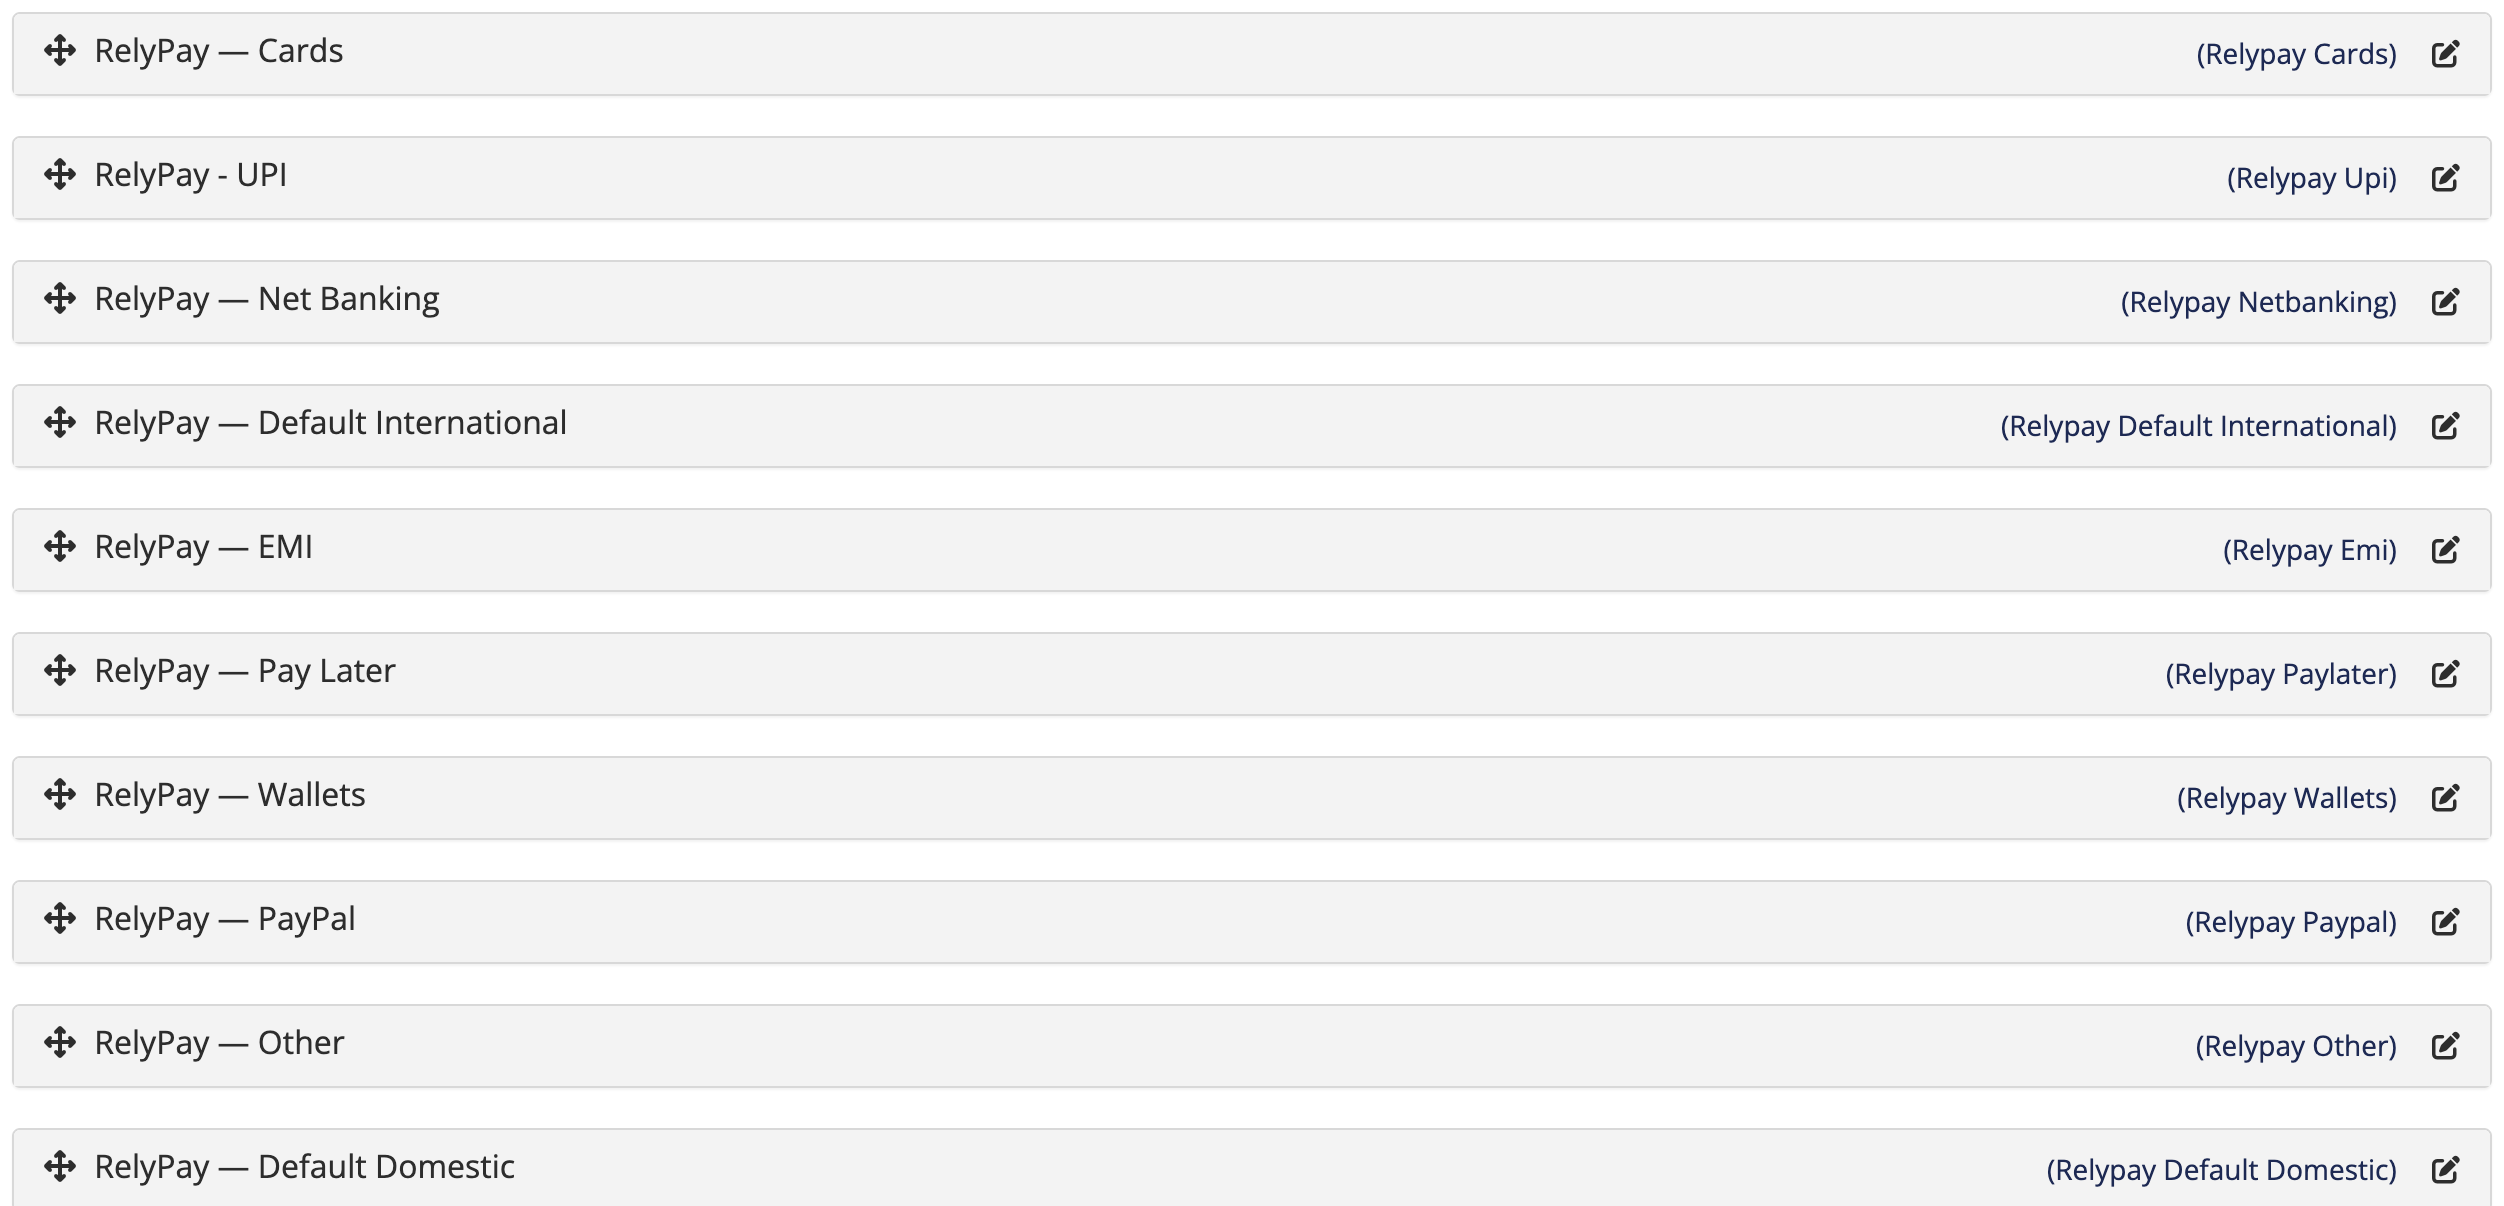 Setup → Payment Gateways
Ten are available: method-specific options (RelyPay — UPI, RelyPay — Cards, …) plus two catch-all Default gateways. See Sub-gateways.
6. Set routing rules
Addons → RelyPay → Routing → choose which provider takes each payment, by currency, amount, or percentage split, with a fallback. See Routing.
7. Verify
Place a small test order and confirm it appears under Addons → RelyPay → Transactions.
Fastest working setup
Connect one provider, enable the two Default sub-gateways (domestic + international), and leave routing on its seeded fallback. Refine routing and add sub-gateways after your first successful payment.