
Appearance
Installation
Get RelyAI from a fresh AcelleMail install to a working AI setup: upload, activate, license, connect an engine. No core patches, no SSH — everything happens in the AcelleMail admin.
Prerequisites: a server that meets the Requirements, your RelyAI license key, and an AI provider API key.
1. Upload the plugin
Plugins → Upload Plugin → upload the RelyAI zip from your Relyweb account.
AcelleMail installs it under storage/app/plugins/relyweb/relyai/ and runs its migrations automatically, adding the RelyAI configuration tables.
2. Activate
Activate the plugin from the Plugins list. A new RelyAI group appears in the sidebar — Dashboard, Engines, Feature Flags, the observability dashboards, and Settings. AI surfaces stay dormant until you finish the next two steps.
3. Activate your license
- Go to RelyAI → Settings → License.
- Paste your license key and click Activate.
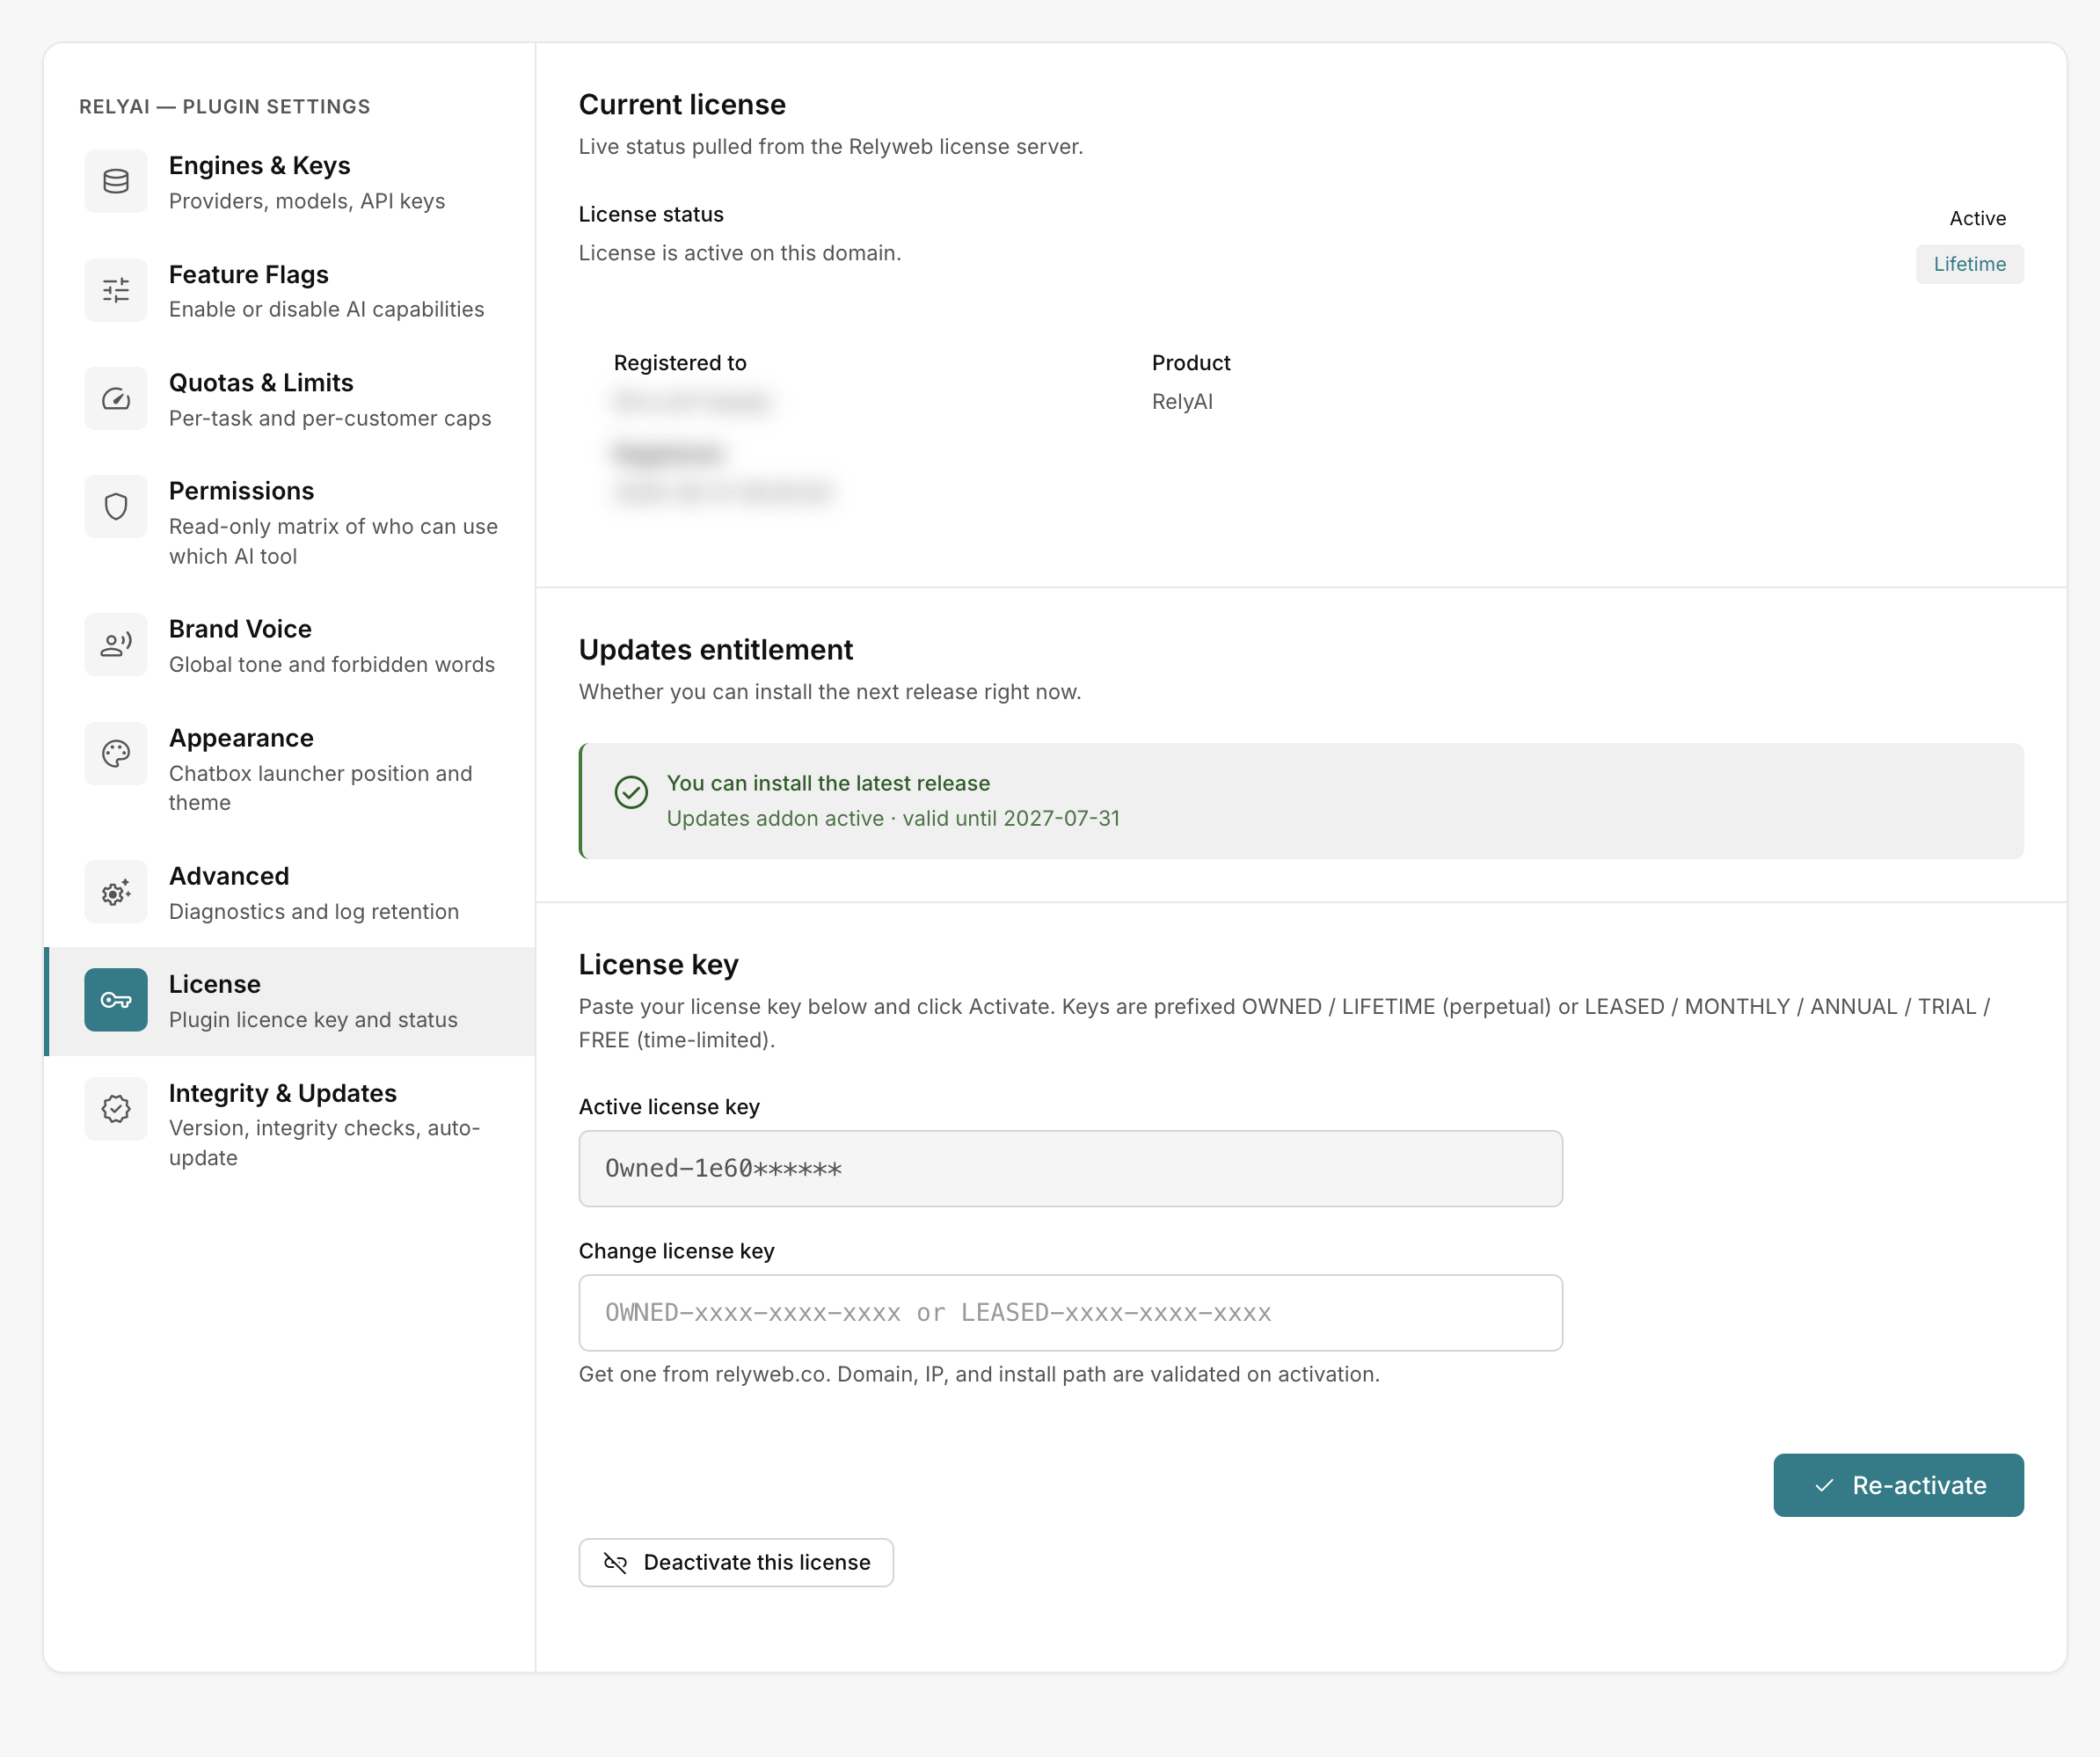 RelyAI → Settings → License
License validation details:
- Binding: Validates and binds your domain, server IP, and installation path.
- Storage: Keys are stored encrypted in the database and displayed masked.
- Unlocking: Navigation tabs and AI capabilities unlock once the license verifies as Active. See Licensing.
4. Connect an engine
- Go to RelyAI → Settings → Engines & Keys.
- Click Add Engine, pick a Provider, select a Model, and enter your API key (leave blank for local Ollama).
- Click Test Connection (confirms "Connection successful"), then click Set as Default.
See Connect an engine for the full provider walkthrough.
5. Verify
Open RelyAI → Settings → Engines & Keys and confirm your engine shows as Default. The chatbox, rewrite popover, subject suggestions and coaches are now ready to turn on in Configuration.